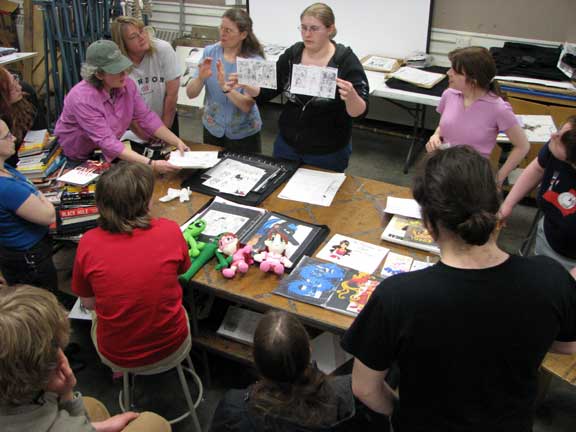
Second day of instruction is mostly all about materials & techniques, but first there's a show & tell from the two repeat advanced students in the class. They have to bring in samples of their work (in this case, homemade plush models, portfolios and their posted Deviant Art websites). This is really inspiring to see such quality work and dedication, and helps to instill an atmosphere of productivity and, well, seriousness that at first might seem out of place in a cartoon class, but sets the bar high for everyone, including me. They are also tasked with spearheading the weekly critiques and reviews of work-in-progress, with frequent updates on their own projects through script>thumbs>pencils>inks>color stages.
A couple interesting side-notes: the ratio of genders is stark this year, with only four guys in a class of sixteen, which is pretty inspiring given the traditional stereotypes with the comics genre (none in the drawing class BTW). Plus having an interpreter is different, I'm not sure how well some of my cartoon sound effects translate...
MATERIALS LIST: CARTOONING & COMIC ARTA pretty basic supply list that won't break the bank, especially considering there's no textbook. Many if not most of the students don't have a working familiarity of the range of different tools; some have already settled into a particular way of doing their own work. I like to push them to experiment all throughout the class with different materials and techniques, and to apply them to their assigned pieces. Many times it has proven to be useful to break away from routine and try new things, and not just the actual tools but the content of the cartoon. Besides opening mental doors it points up the many opportunities that are out there for work. And my whole approach is that it's all good: the inevitable camps of web/print, superhero/alternative, manga/Marvel etc. are largely irrelevant at this stage, and the class is purposefully designed to accommodate a wide range of interests along with diversity in talent and skill.
-Graphite pencil (HB or #2)
-Derwent Wash Sketching pencil (medium or heavy)
-Eraser (ex: Magic Rub, Pink Pearl)
-12” ruler, metal w/cork backing
-T-square
-Drafting/low-tack masking tape
-Felt-tip pens (Sharpies – Fine & Ultra-Fine, Flair, Razor Point, etc.)
-Microns (range from thin 01 to thick 06) or PITT/Faber-Castell artist pen set
-misc. Ball-point pens – black ink
-Dip-pens w/large and crow-quill nibs (ex:Hunt 108, Gillotte 170)
-optional Fountain pen (ex: Rotring Art Pen, Rapidograph)
-Brush (#0 or #1 rounds, synthetic blends)ex: Winsor-Newton series 7 (#2 or #3)
-Pentell Pocket Brush
-Waterproof black India ink (ex: Higgins Black Magic, Speedball Superblack)
-whiteout/white acrylic paint
-9x12 sketchpad (drawing paper, wirebound)
-Bristol Board pad, 8x10” or 9x12” and 11x14” (smooth – not vellum)
-tacklebox
-small folio – ex: plastic slipcase/presentation folder
-3-ring binder + hole puncher or big clip for keeping copies together
*setup with adequate lighting and posture
So far I've given several presentations: my work and creative process and the uses of comic art in commercial applications; a sampling of historical and contemporary comic artists; a in-depth examination of different genres, styles, formats and techniques in sequential art; a little bit of philosophical theory in deconstructing the medium; and an overview of single-panel/gag cartoons. Accompanying each session is a veritable avalanche of photocopies: I've accumulated more miscellaneous material than I will ever know what to do with aside from cluttering up the cabin, but culling the stacks for pertinent interviews and articles of related interest usually brings up a lot of valuable information. Eventually we are weened away from this approach as we knuckle down and actually start drawing stuff along with the in-class exercises, but at the onset it's good to lay in a conceptual framework for what it is we are doing and a roadmap for where we'll all end up. There is a method to the madness.

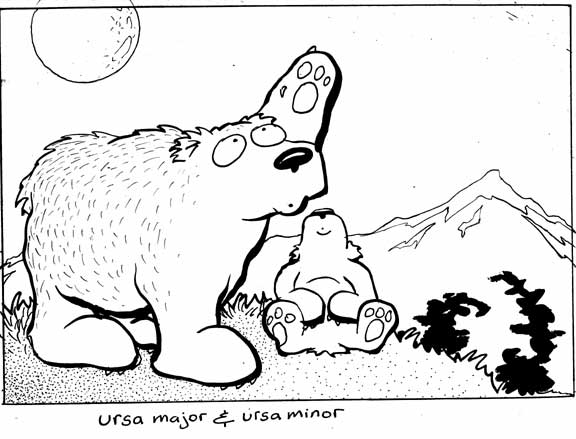
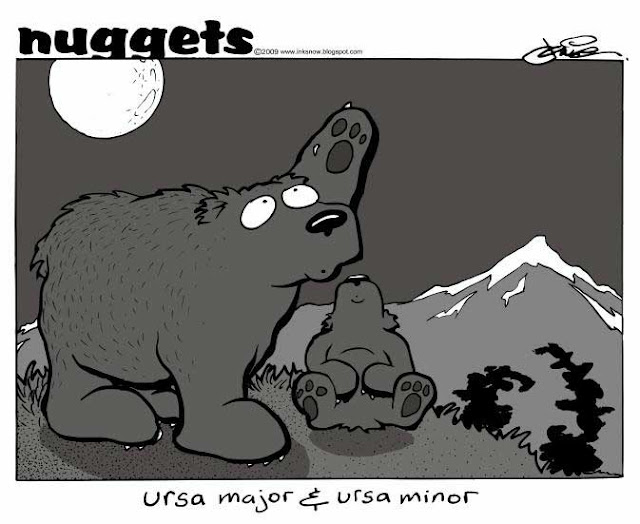
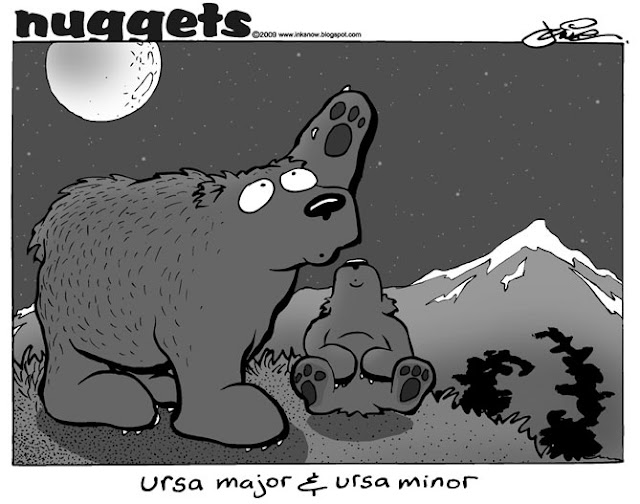
Readers will recall last week's post of the "Public Broadcasting" panel/poster design - during that drawing (specifically while adding the Big Dipper into the night sky) my mind wandered off course (again) and the concept for this drawing came about, a not-uncommon method of getting ideas. I often do wonder at what animals think of their world, and if they ever stop and appreciate or contemplate the amazing beauty of nature. Most people don't.
Started sketching it out on Bristol, but thought it's make for a good demo on inking and so brought it to class the next day instead, and again the next day with prints of all stages for handouts. Shown here are these three transitional stages of the original scan > the vectored Freehand version w/added halftones > finished Photoshop panel. There are a few subtle touches added like highlights and cut shadows (esp. emphasizing the cub tipping back on his butt) along with the field of stars which I needed another program to do, though usually I can get away with doing everything in Freehand. Just another example of using whatever tools are available to get the job done.

I had thought of extending the panel upwards/doubling the vertical size so as to show the actual constellations of Ursa Major and Ursa Minor, but there was something slightly better about not revealing what it was the bears are looking at, like leaving a little tiny extra step for a viewer to connect the dots on their own. Or maybe it was a bit too much to contemplate the universe at the moment.
Let alone the fact that there's 20hours/25minutes of daylight now in the Interior...


How do you get your works in the computer? Specifically I am curious about larger works. Most scanners I find now days only scan a notebook sized sheet of paper.
ReplyDeletePlease pass this info along in the cartooning class.
99% of the time I scan in the pen & ink linework: larger pieces I either track down a tabloid (11x17") flatbed scanner or piece multiple scans together in Photoshop, save as a TIF, reopen in a graphics program and convert to a vector image (as opposed to a bitmap/pixel-based image).
ReplyDeleteI have had some success with taking a high-res digital picture with a camera also, and importing the image, but only with larger works that don't have detail.
Also I've resorted to actually making a reduction off a digital copier/Xerox and scanning *that* in - but if there's any detail a second-generation image will show some loss.
I'll try and do a demo in the department's multi-purpose room for interested folks, assuming they have the software installed that I use. Plus there'll be a few visiting cartoonists that use computers for their work which'll hopefully provide some more specific details.